Studio organisation
A Practical Painting Setup for Small Spaces
Plan an artist painting setup for a small or shared table. Arrange your palette, brushes and water, then make storage and pack-down part of the routine.
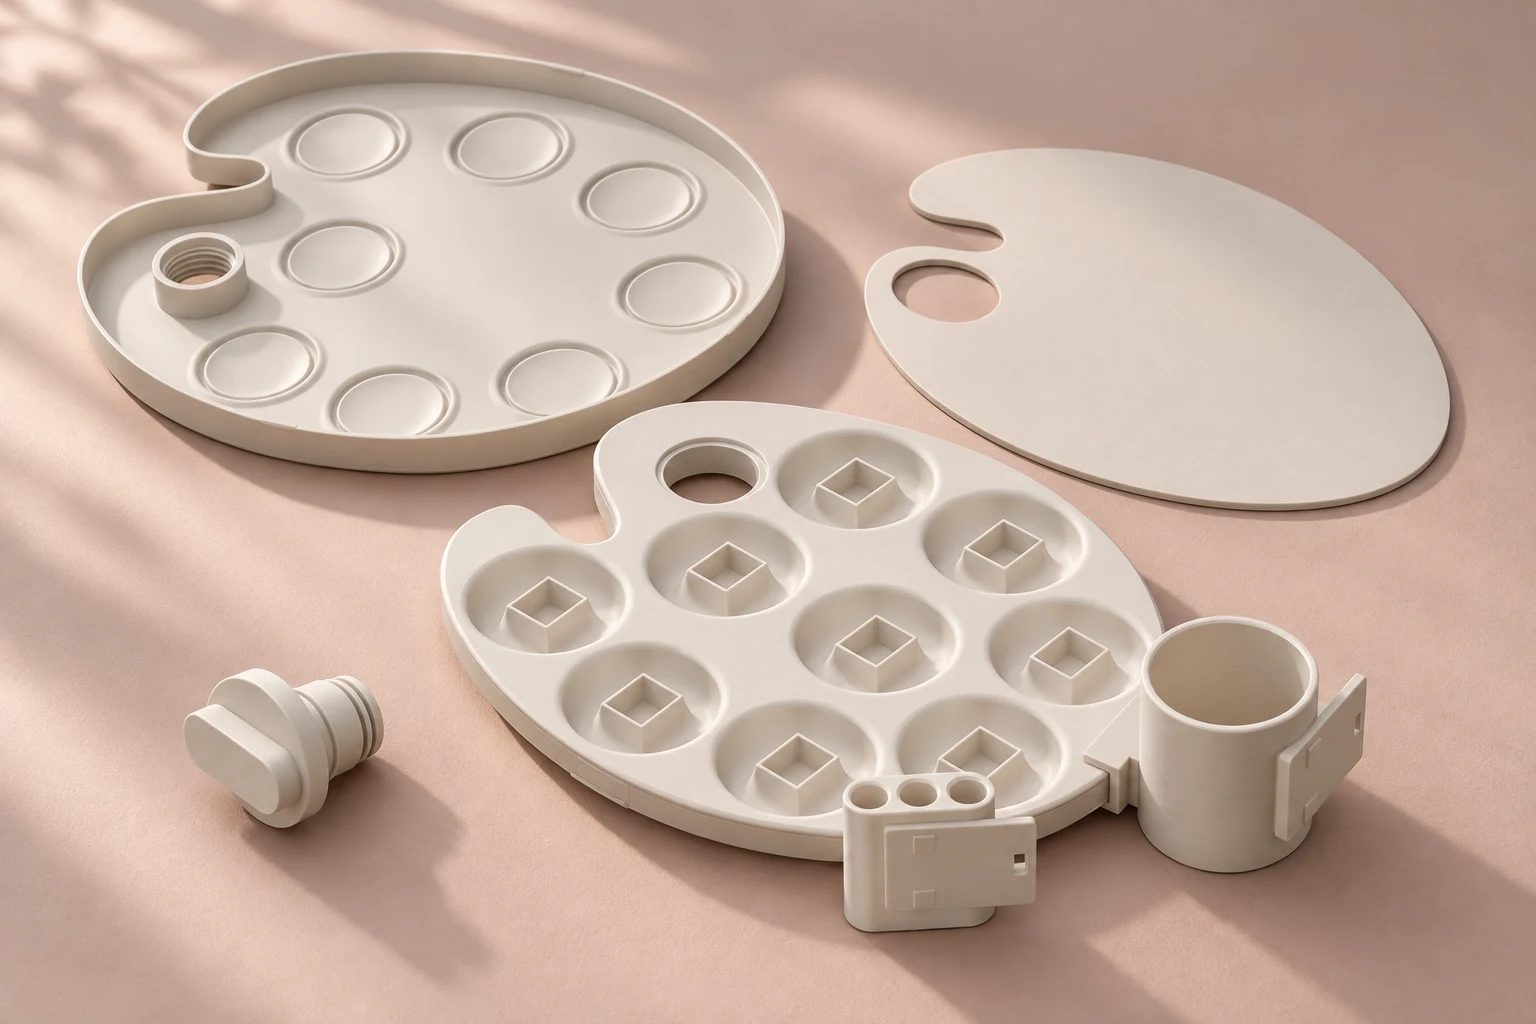
A painting setup for small spaces works best when each object has a place during painting and another place during storage. You do not need a dedicated studio to plan that. Start with your artwork, palette, water and active brushes, then rehearse the movements you make most often.
The layout below is a suggested workflow for watercolour or acrylic painting at a small or shared table. Adjust it for your dominant hand, the tools you use and the room available.
Protect the artwork’s working area first
Put your paper, board or sketchbook down before arranging accessories. Leave space to turn pages, move your hand and place a reference beside the work. This is the area you want to keep clear; build the rest of the station around it.
Cover a shared table with suitable protection, checking that the covering stays flat and does not move under your work. Avoid balancing a palette or water container near an edge simply to create more central space.
Arrange tools by the movements you repeat
Place the palette where your painting hand can reach it comfortably. Put the rinse water nearby, with a cloth or other suitable brush-wiping material beside it. Aim for a short movement between those objects without carrying a wet brush across the artwork.
Separate the brushes in use from the rest of your collection. A holder or rest can give them a defined place while you mix. Check that any holder accepts your brush handles and that your container sits securely in its intended support.
- Position the artwork and a reference.
- Add the palette on the side you naturally reach towards.
- Add water and wiping materials outside the artwork’s clear area.
- Keep only the brushes and paints needed for this session within reach.
- Put spare equipment in a nearby tray or storage box.
Do a dry rehearsal before opening paint
Take a clean, dry brush and repeat your usual sequence: colour, mixing area, artwork, rinse and brush rest. Notice where your arm crosses objects or where you have to move something out of the way. Change the arrangement now, before there is water or paint to spill.
For a palette you are considering buying, draw its open footprint on paper. Include space for the lid and any attached holders. Our travel watercolour palette checklist explains why open dimensions matter as much as packed dimensions.
Make pack-down part of the layout
A shared workspace needs a predictable end to the session. Decide where the artwork can dry without touching other objects. Keep cleaning materials accessible and identify a place for used sheets or wipes, following the paint maker’s instructions.
Empty and dry a water holder before transport; do not treat it as a sealed travel bottle. Clean and store brushes according to their instructions. Let damp equipment dry appropriately before putting it into long-term storage.
Try grouping the dry equipment in one tray so it can move off the table together. A simple contents list makes the next session easier: palette, brushes, paints, wiping materials and table protection. Keep wet artwork separate from that storage group.
Choose accessories to solve a specific problem
If brushes roll into your mixing area, a suitable rest may help. If containers keep moving, review their footprint and support. If the palette occupies too much room, compare the complete open layout before adding a mount. Check compatibility and stability for any stand arrangement rather than assuming a connector will fit.
We Glow Up’s developing Field and Complete kits include brush and water holders. All kits include a connector set, but stand fitting and launch checks remain pending. The current palette comparison explains contents and exclusions. For acrylic painters, see our paper, reusable and wet palette comparison before choosing a surface.
When a custom organiser is worth discussing
Start by measuring the objects you need to store and the available shelf or drawer. Record the largest handle diameter, useful compartment depth and any lid clearance. If an off-the-shelf tray cannot accommodate those dimensions, a custom organiser might be a useful enquiry.
Our organiser design example shows a simple CAD workflow. You can discuss a new object through our custom 3D design service; suitability, scope and any sample are agreed before work starts.